I bought a MacBook Air M4 in January 2026 mainly for productivity and coding. I already have a Windows laptop, so this Mac isn’t a replacement—it’s a focused work machine.
I don’t install Xcode. I don’t overload the system. I want a clean, fast, distraction-free dev setup.
This is exactly how I set everything up from scratch.
1. Initial macOS Setup
Go through the standard macOS welcome flow:
- Language and region
- Apple ID
- Touch ID
Skip anything you don’t immediately need (Apple Pay, Siri, Screen Time). Once you land on the desktop, let Spotlight finish indexing before installing tools.
Apple macOS overview: https://www.apple.com/macos/
2. Finder Setup, Developer Folder & Dock Cleanup
First, make Finder actually useful.
Enable Path & File Extensions
- Finder → Settings → Advanced
- Enable Show all filename extensions
- Finder → View → Show Path Bar
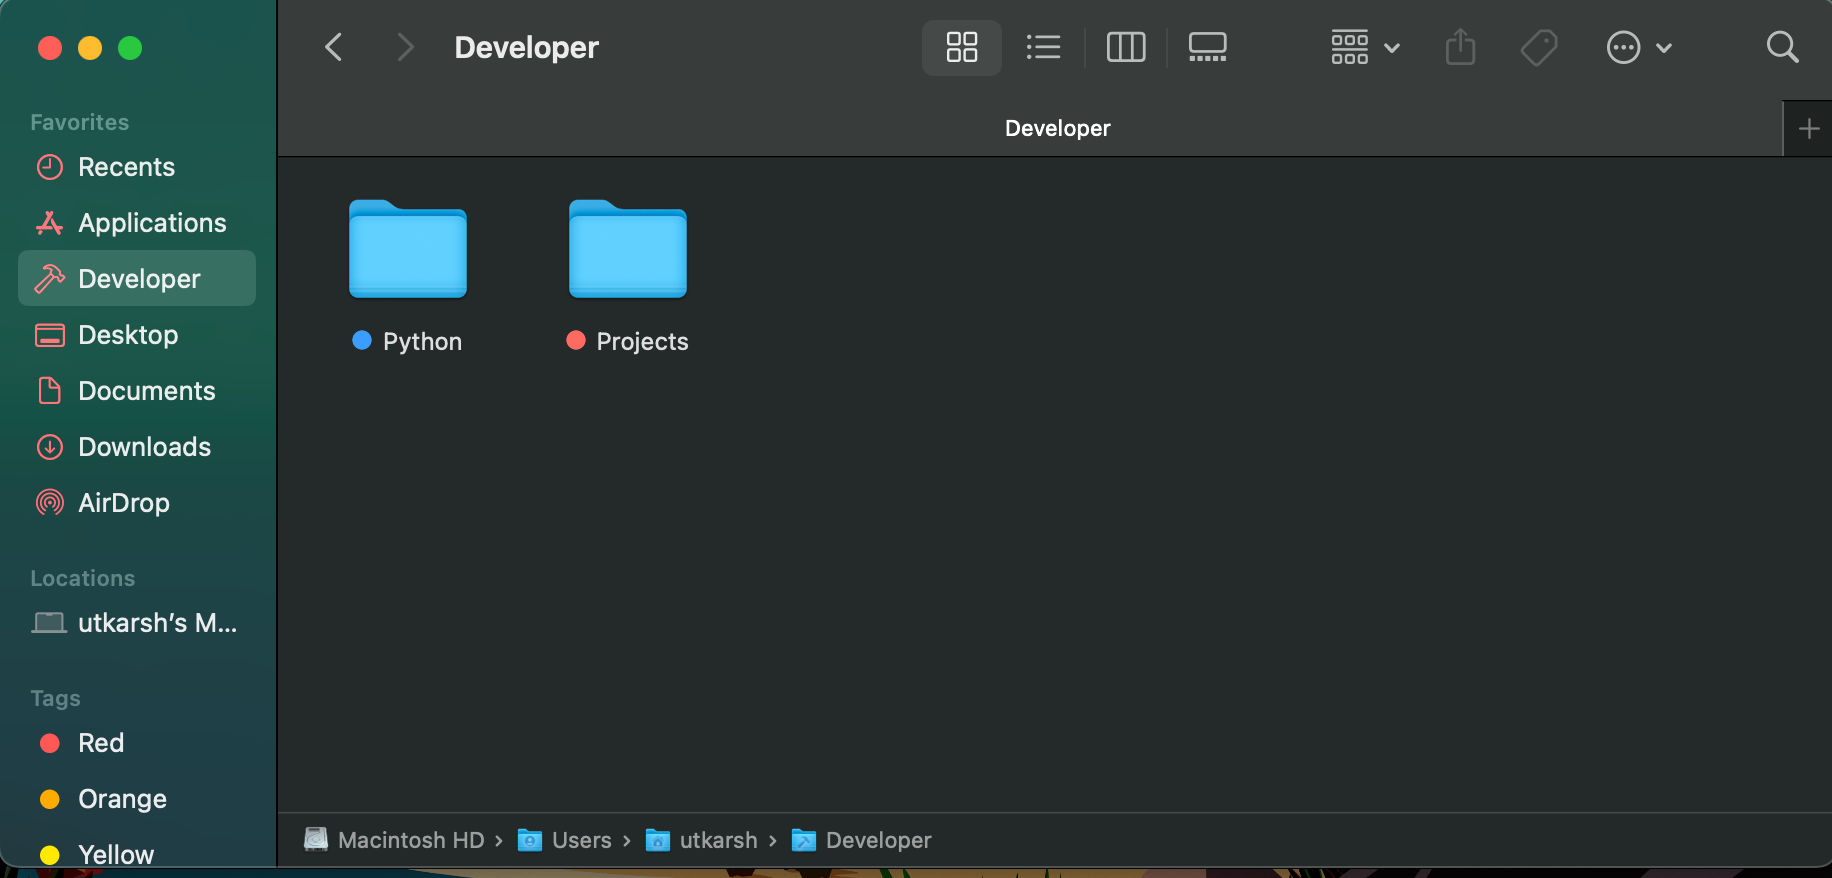
Create a Developer Folder
Inside your home directory, create:
Developer
Pin it to the Finder sidebar so every project lives in one predictable place.
Clean the Dock
Drag unnecessary apps out of the Dock and drop them into empty space. I keep only what I open daily.

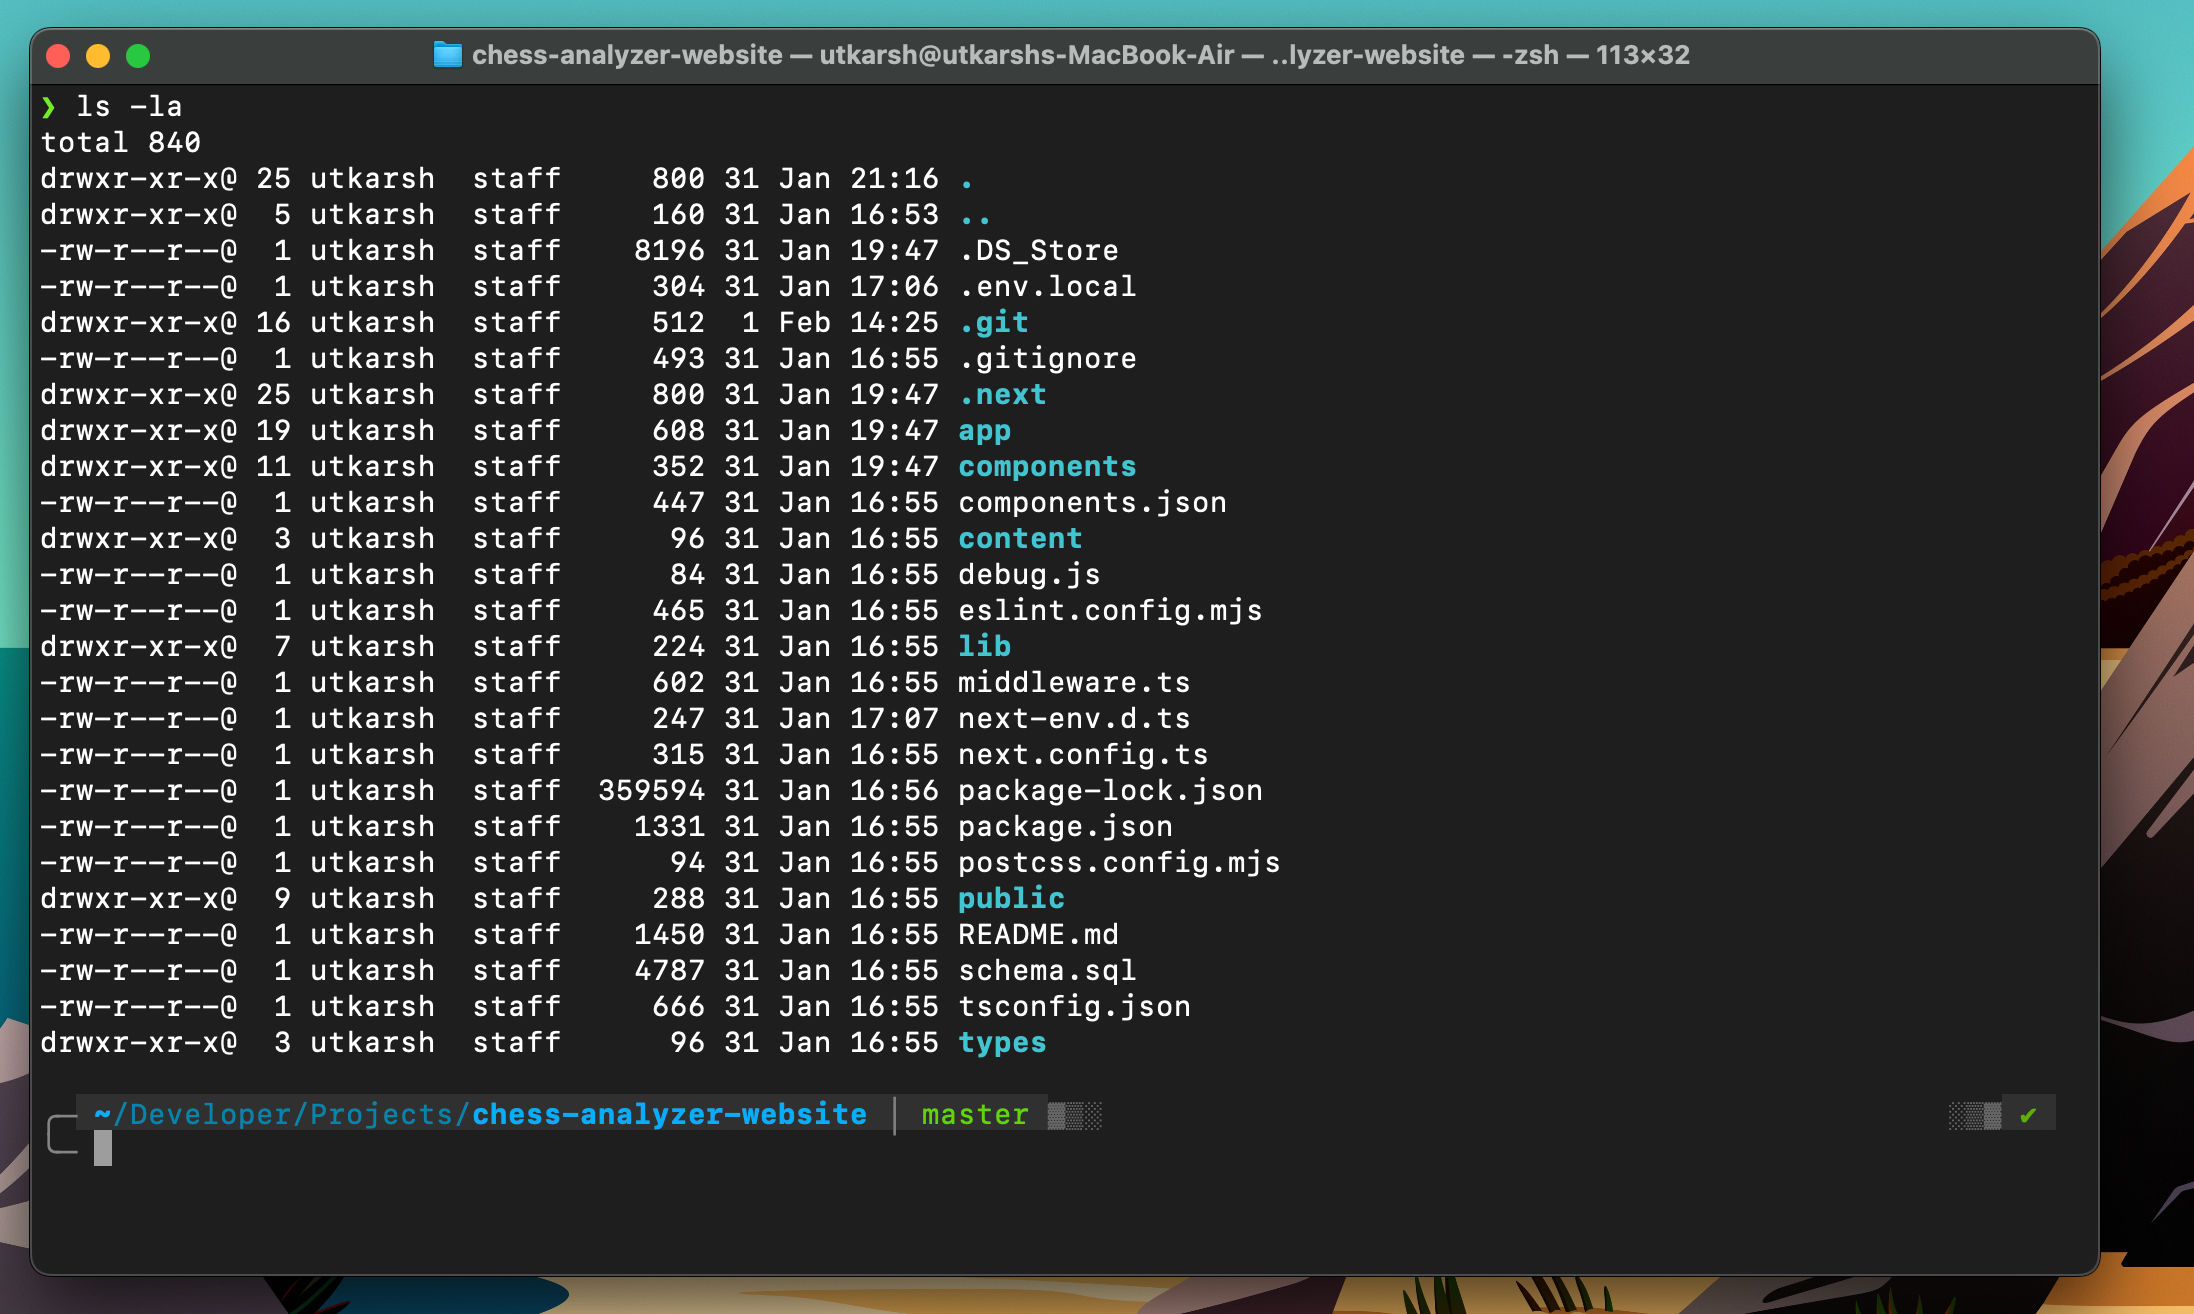
3. Terminal Setup (Zsh + Powerlevel10k)
Terminal is where most real work happens.
Basic Preferences
Terminal → Settings:
- Font: MesloLGS NF
- Font size: 13–14
- Disable audible bell
- Enable “Use Option as Meta key”
Oh My Zsh
sh -c "$(curl -fsSL https://raw.githubusercontent.com/ohmyzsh/ohmyzsh/master/tools/install.sh)"sh -c "$(curl -fsSL https://raw.githubusercontent.com/ohmyzsh/ohmyzsh/master/tools/install.sh)"
Restart Terminal after installation.
Powerlevel10k Theme
https://github.com/romkatv/powerlevel10k
git clone --depth=1 https://github.com/romkatv/powerlevel10k.git \
${ZSH_CUSTOM:-$HOME/.oh-my-zsh/custom}/themes/powerlevel10kgit clone --depth=1 https://github.com/romkatv/powerlevel10k.git \
${ZSH_CUSTOM:-$HOME/.oh-my-zsh/custom}/themes/powerlevel10k
Edit config:
nano ~/.zshrcnano ~/.zshrc
ZSH_THEME="powerlevel10k/powerlevel10k"ZSH_THEME="powerlevel10k/powerlevel10k"
Restart Terminal and complete the setup wizard.
Reconfigure anytime:
p10k configurep10k configure
4. Homebrew (Package Manager for macOS)
Homebrew is the backbone of this setup.
Official site: https://brew.sh/
/bin/bash -c "$(curl -fsSL https://raw.githubusercontent.com/Homebrew/install/HEAD/install.sh)"/bin/bash -c "$(curl -fsSL https://raw.githubusercontent.com/Homebrew/install/HEAD/install.sh)"
Add Homebrew to PATH (Apple Silicon):
echo 'eval "$(/opt/homebrew/bin/brew shellenv)"' >> ~/.zprofile
eval "$(/opt/homebrew/bin/brew shellenv)"echo 'eval "$(/opt/homebrew/bin/brew shellenv)"' >> ~/.zprofile
eval "$(/opt/homebrew/bin/brew shellenv)"
Verify:
brew --versionbrew --version
📌 Finding Brew Recipes
Whenever you’re unsure how to install something, always search here first:
This is the authoritative list of:
- Formulas (
brew install) - Casks (
brew install --cask)
If it’s not there, think twice before installing it.
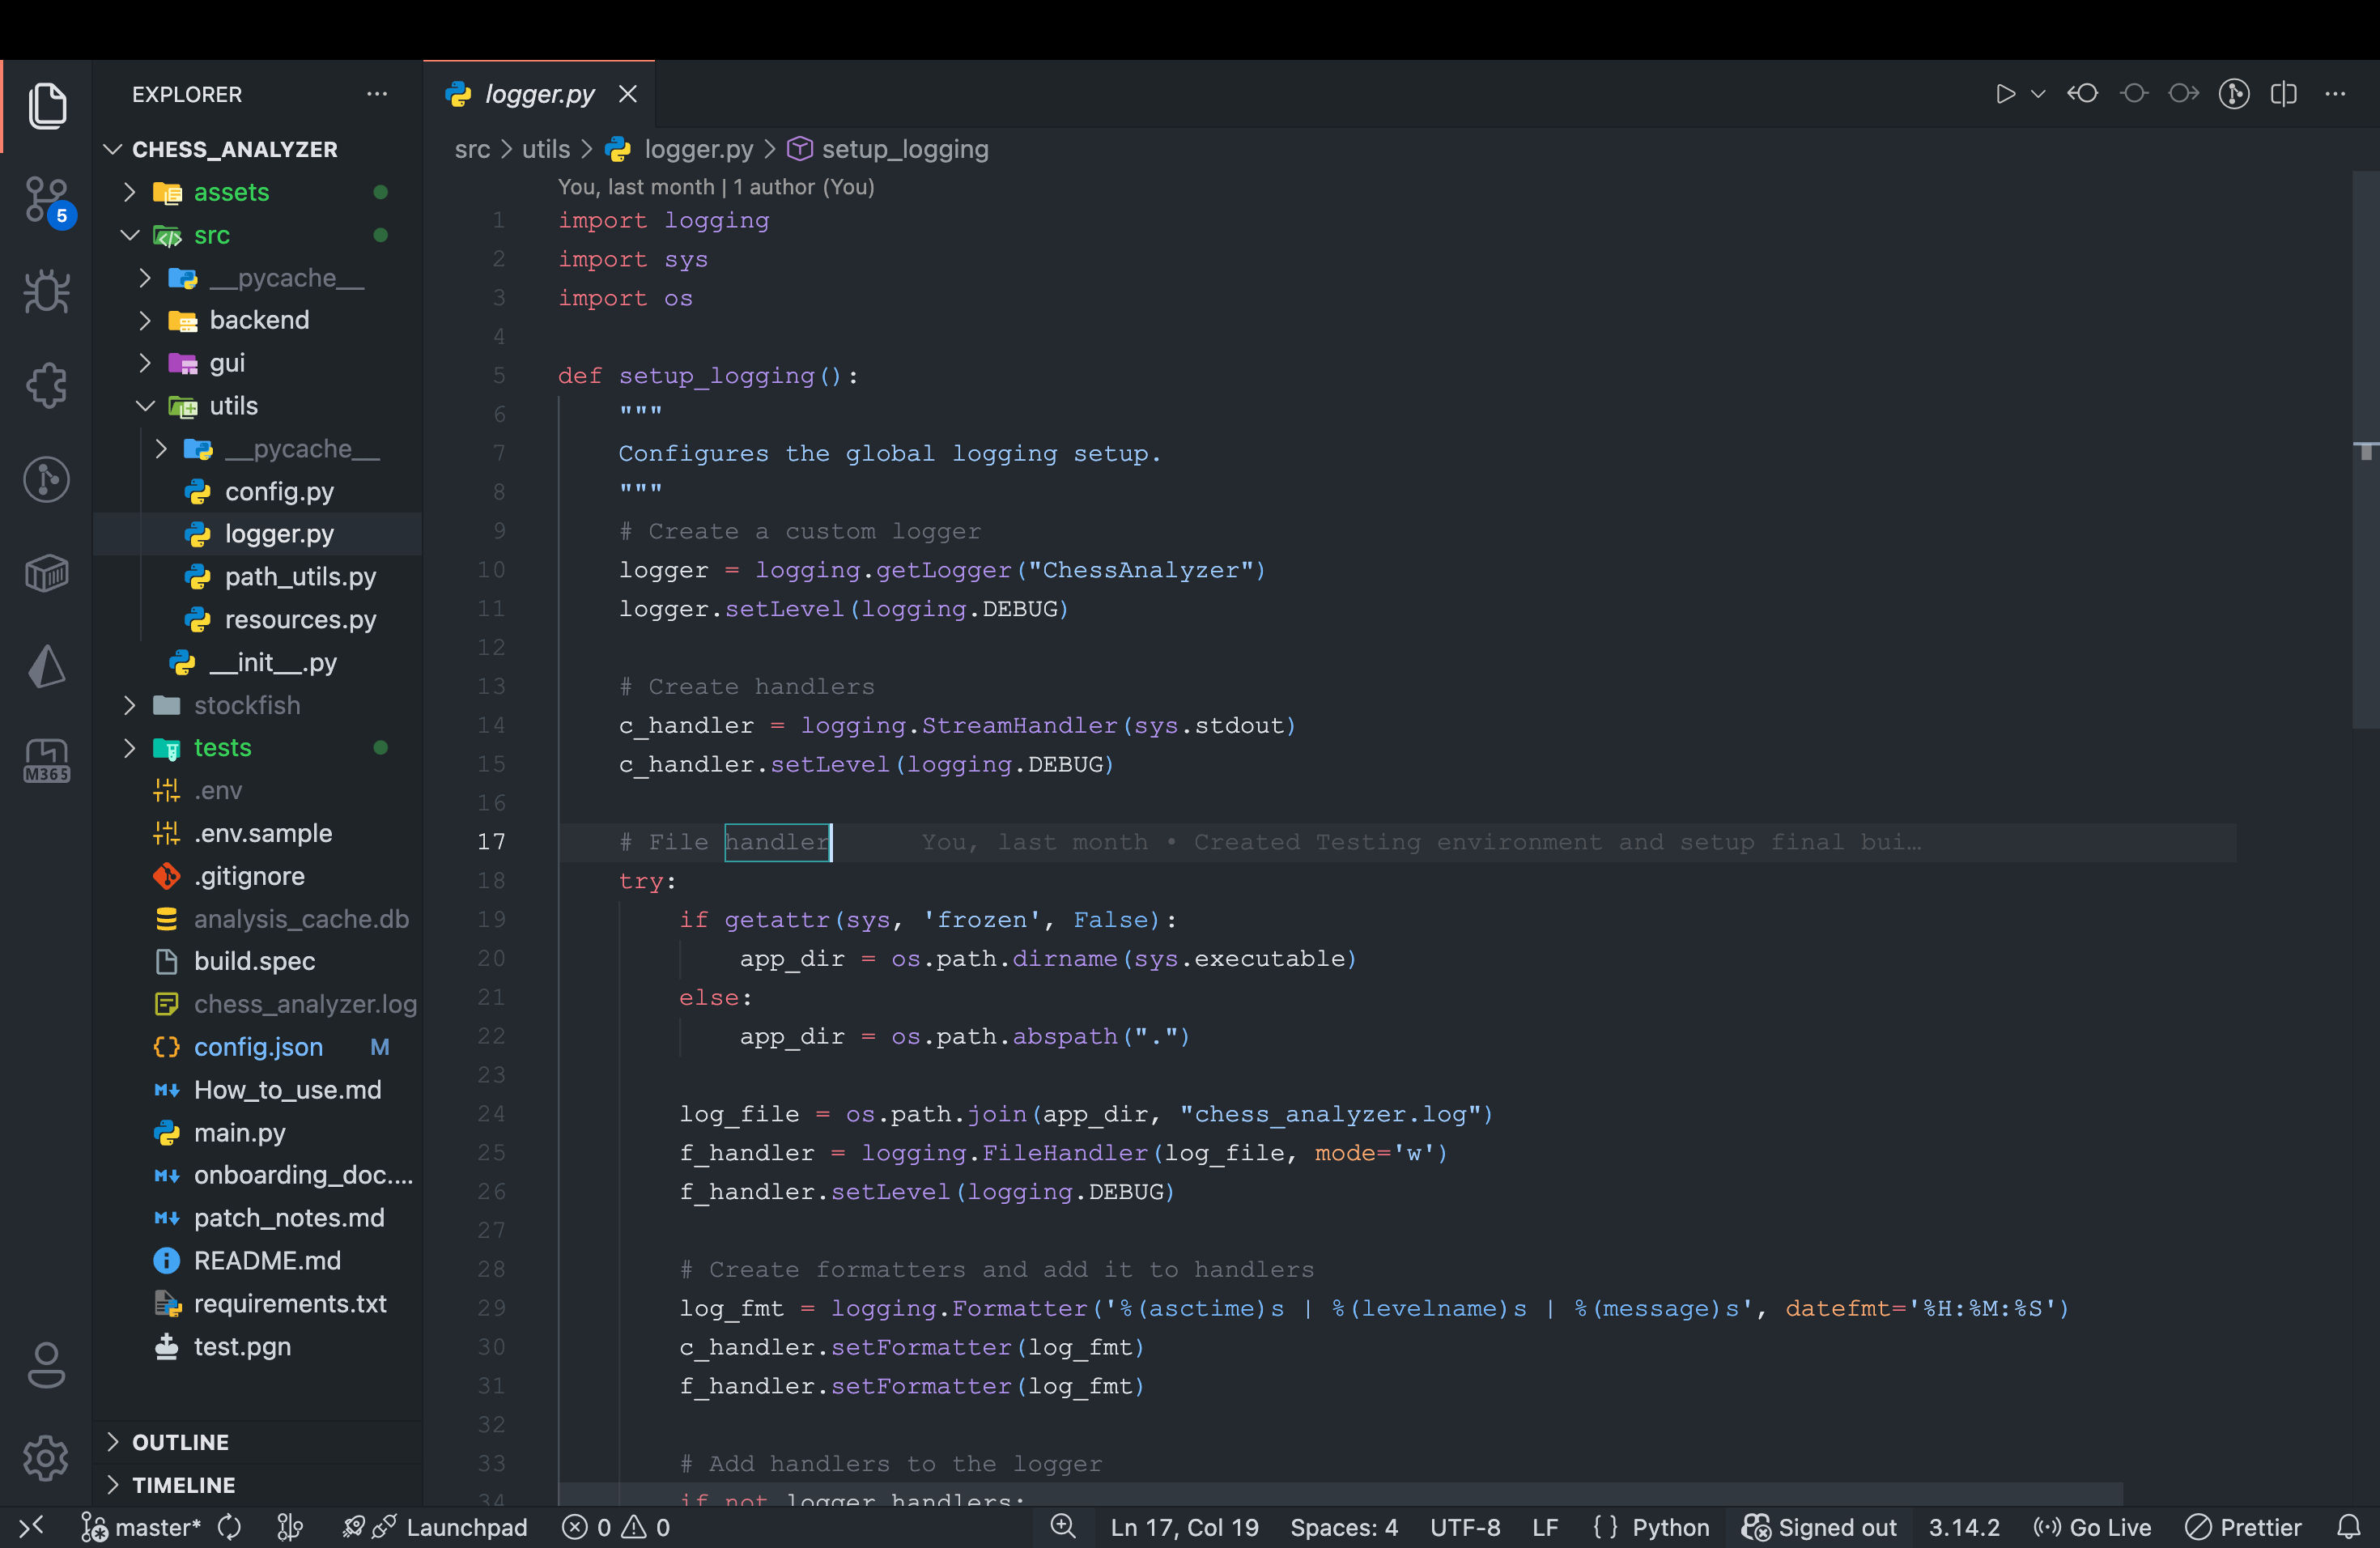
5. Code Editors
Visual Studio Code
https://code.visualstudio.com/
brew install --cask visual-studio-codebrew install --cask visual-studio-code
Sign in with your Microsoft account to restore:
- Extensions
- Themes
- Settings
Agentic Editors (Optional)
Examples:
- Antigravity
- Cursor (https://cursor.sh/)
Installation is simple:
- Download
.dmg - Right-click → Open
- Drag to Applications
6. Core Development Stack
Git
brew install gitbrew install git
git config --global user.name "Your Name"
git config --global user.email "your@email.com"git config --global user.name "Your Name"
git config --global user.email "your@email.com"
GitHub authentication is handled directly inside VS Code.
Node.js
brew install nodebrew install node
Java (Temurin / OpenJDK)
brew install --cask temurinbrew install --cask temurin
Python (Homebrew-managed)
brew install pythonbrew install python
Avoid using the macOS system Python.
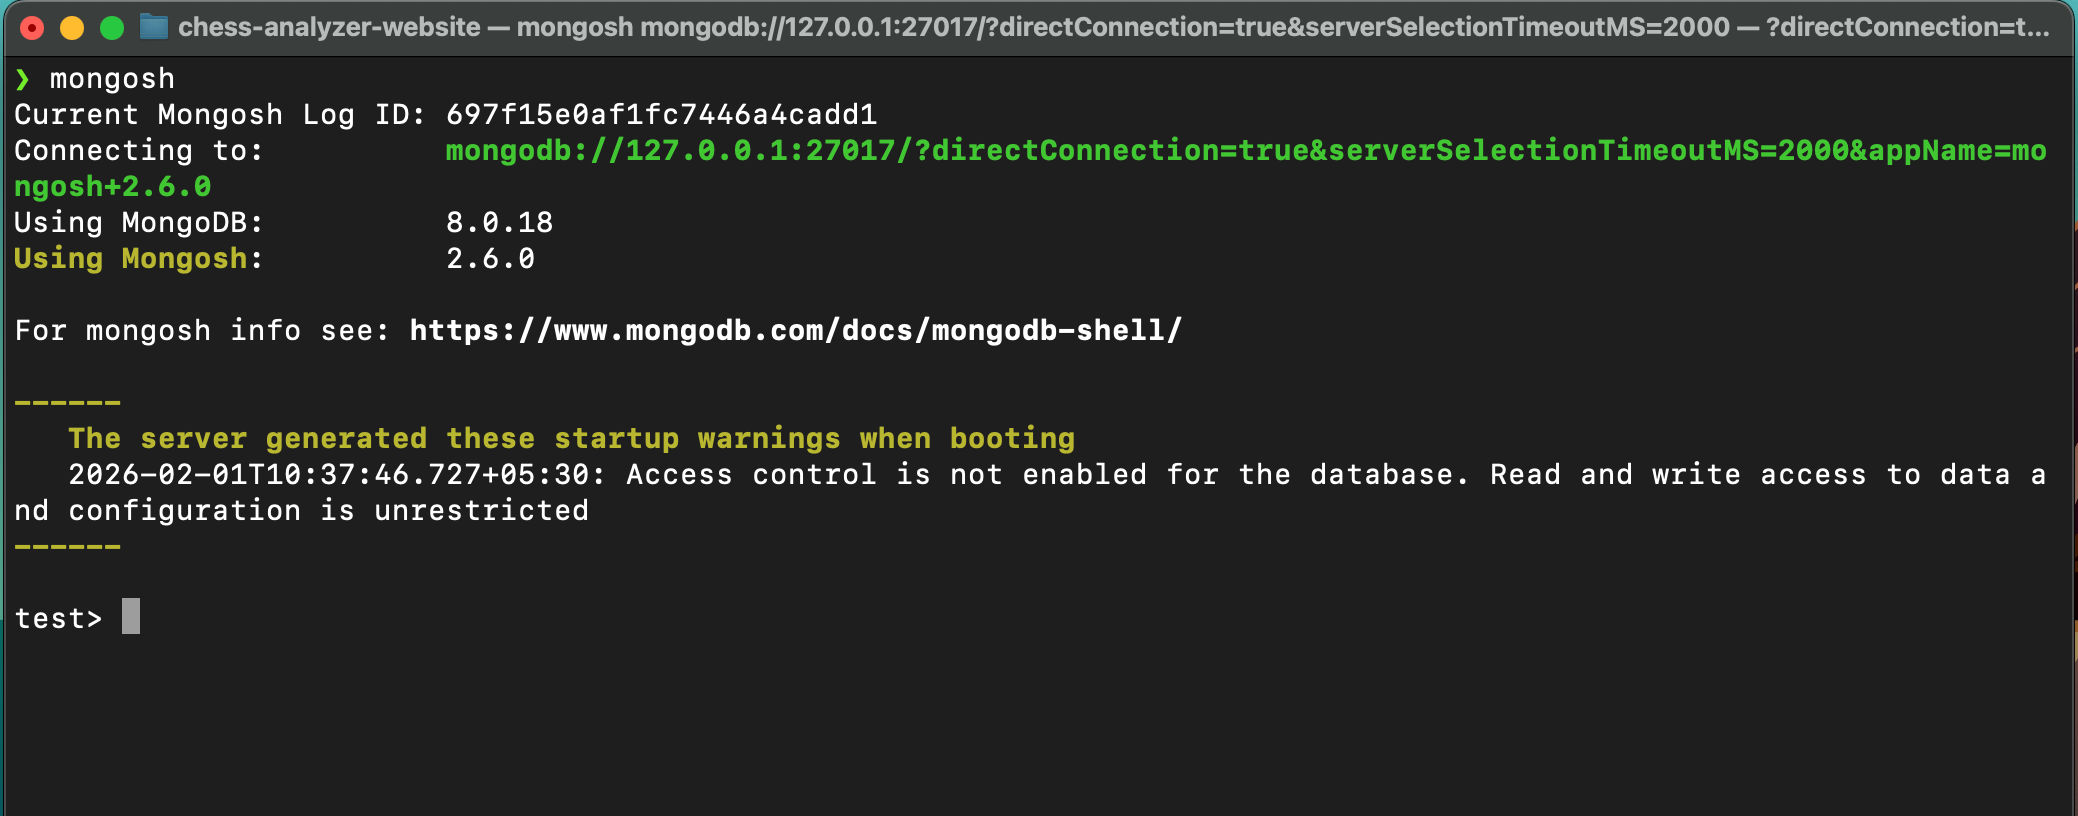
7. MongoDB
Official MongoDB site: https://www.mongodb.com/
brew tap mongodb/brew
brew install mongodb-communitybrew tap mongodb/brew
brew install mongodb-community
Start service:
brew services start mongodb-communitybrew services start mongodb-community
8. PostgreSQL
brew install postgresql@16
brew services start postgresql@16brew install postgresql@16
brew services start postgresql@16
Create default DB:
createdbcreatedb
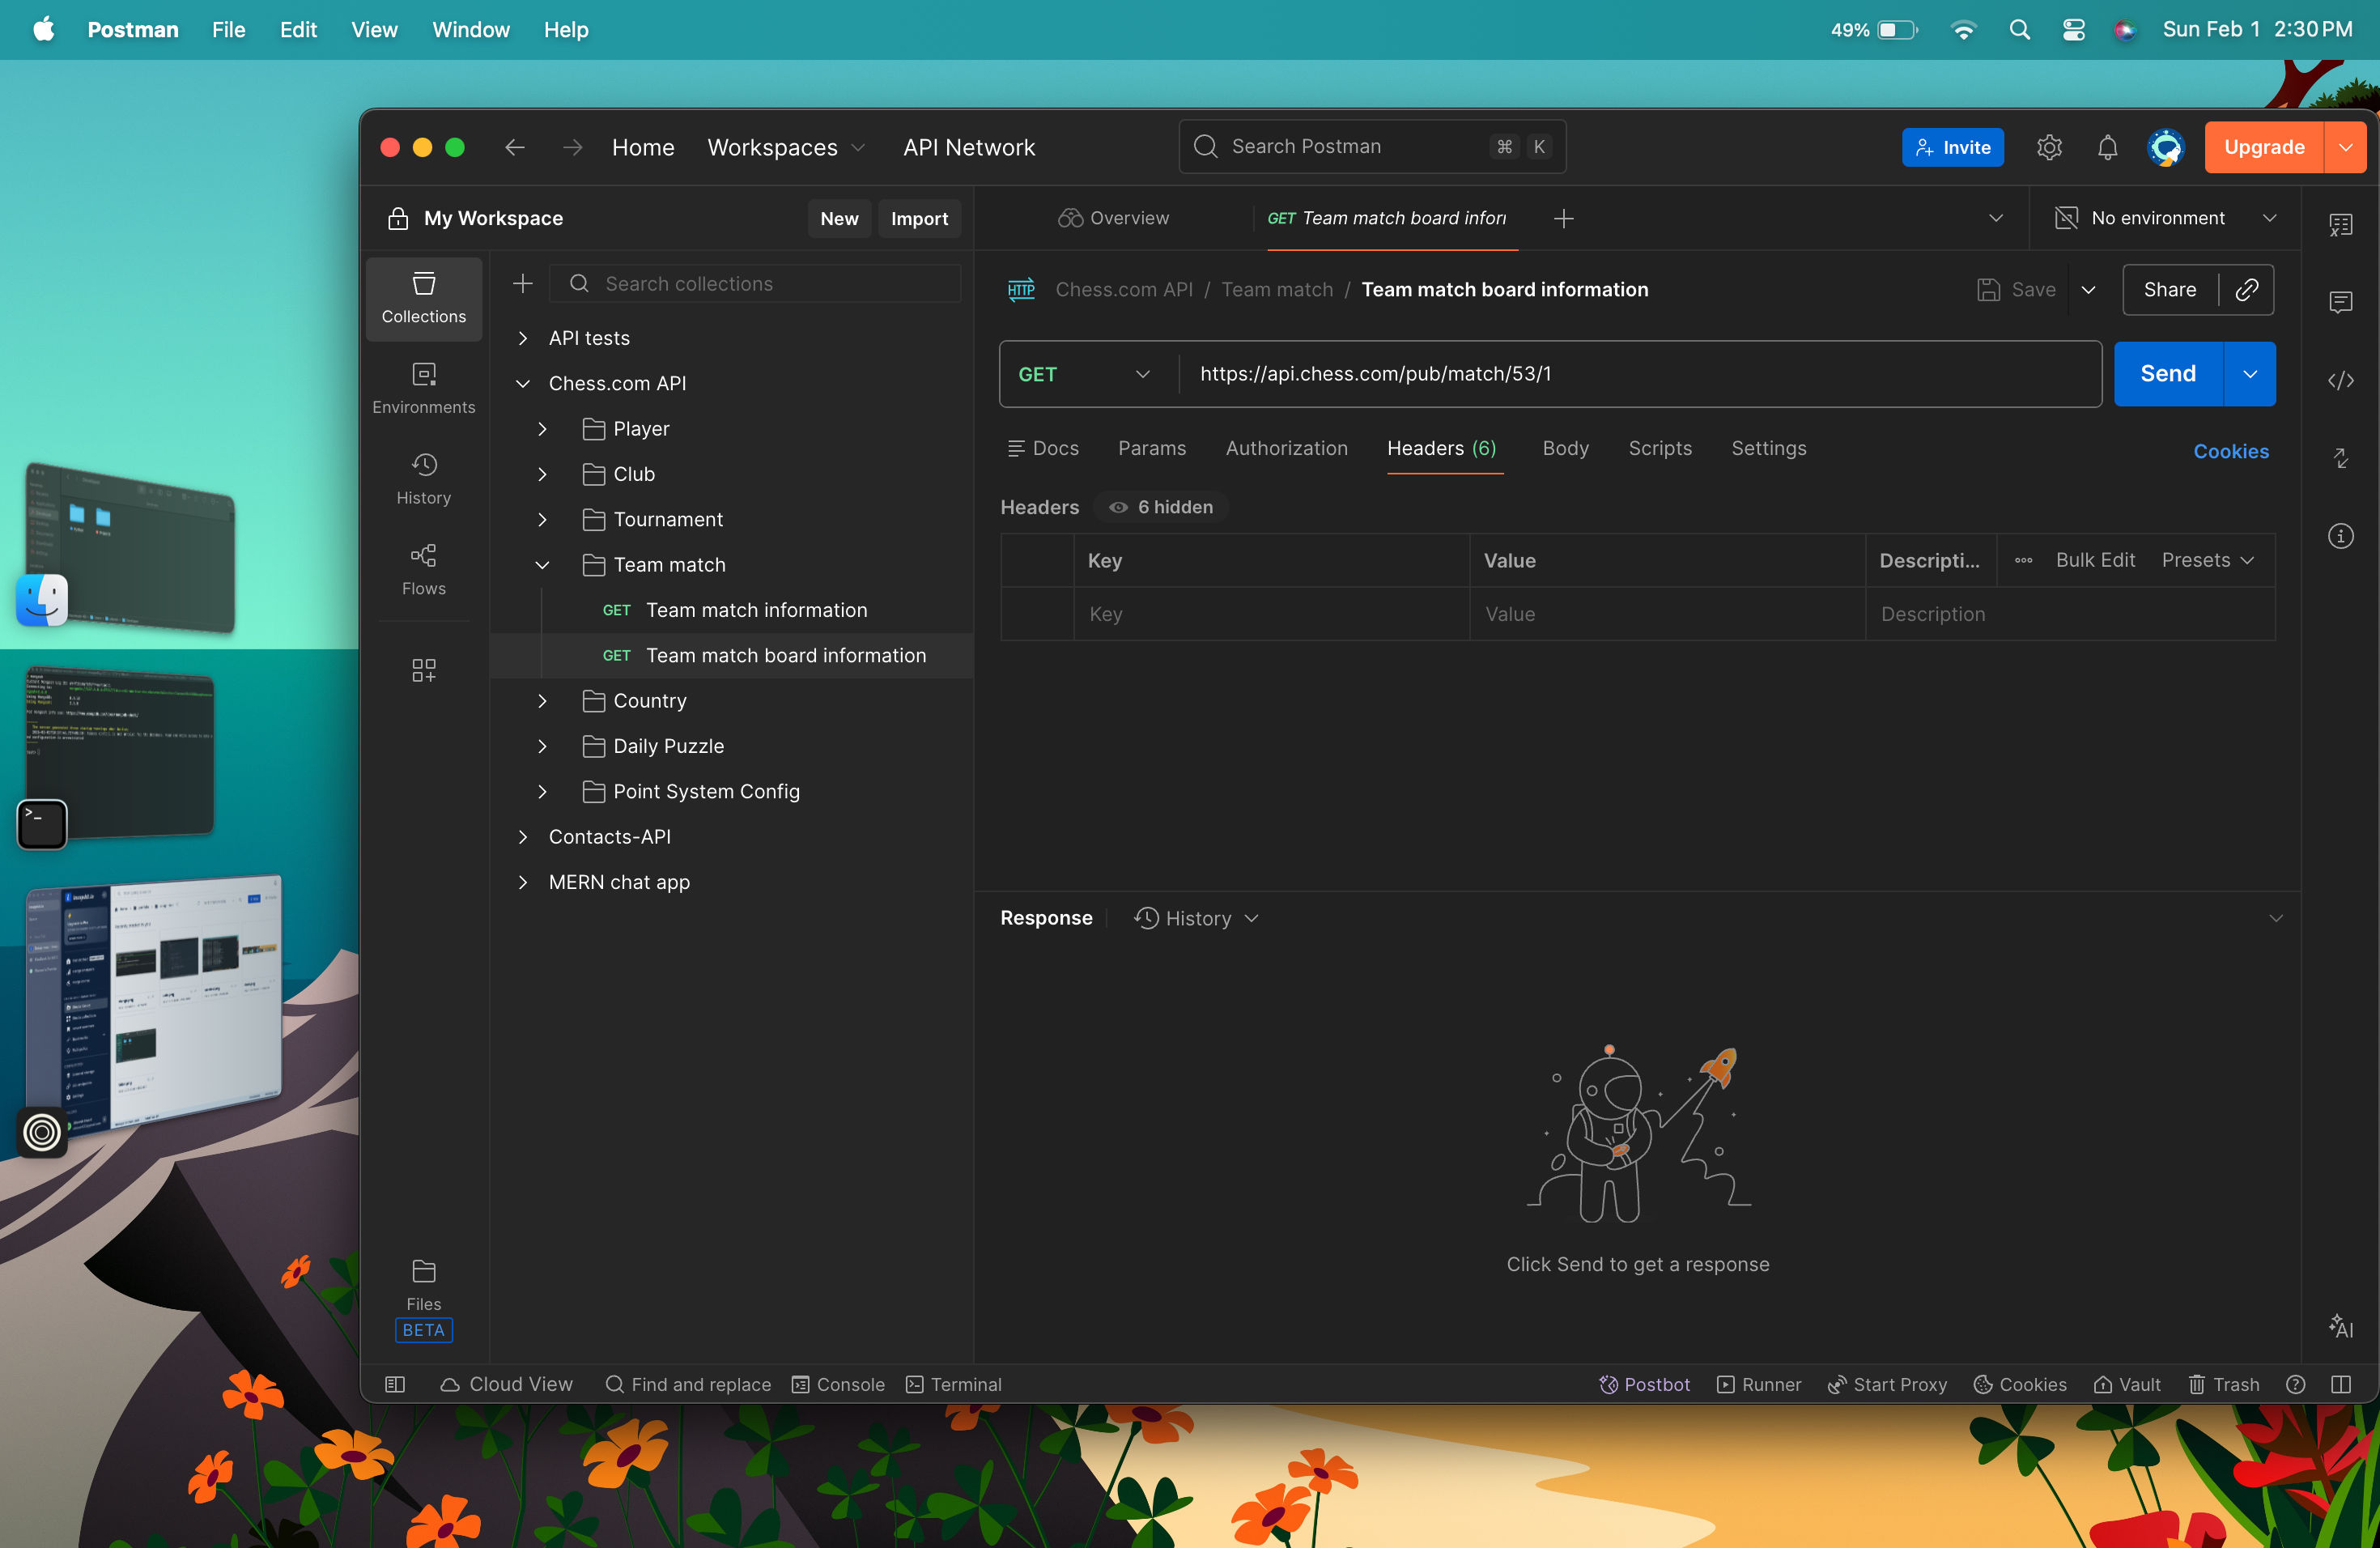
9. Postman
brew install --cask postmanbrew install --cask postman
Login to sync collections and environments.
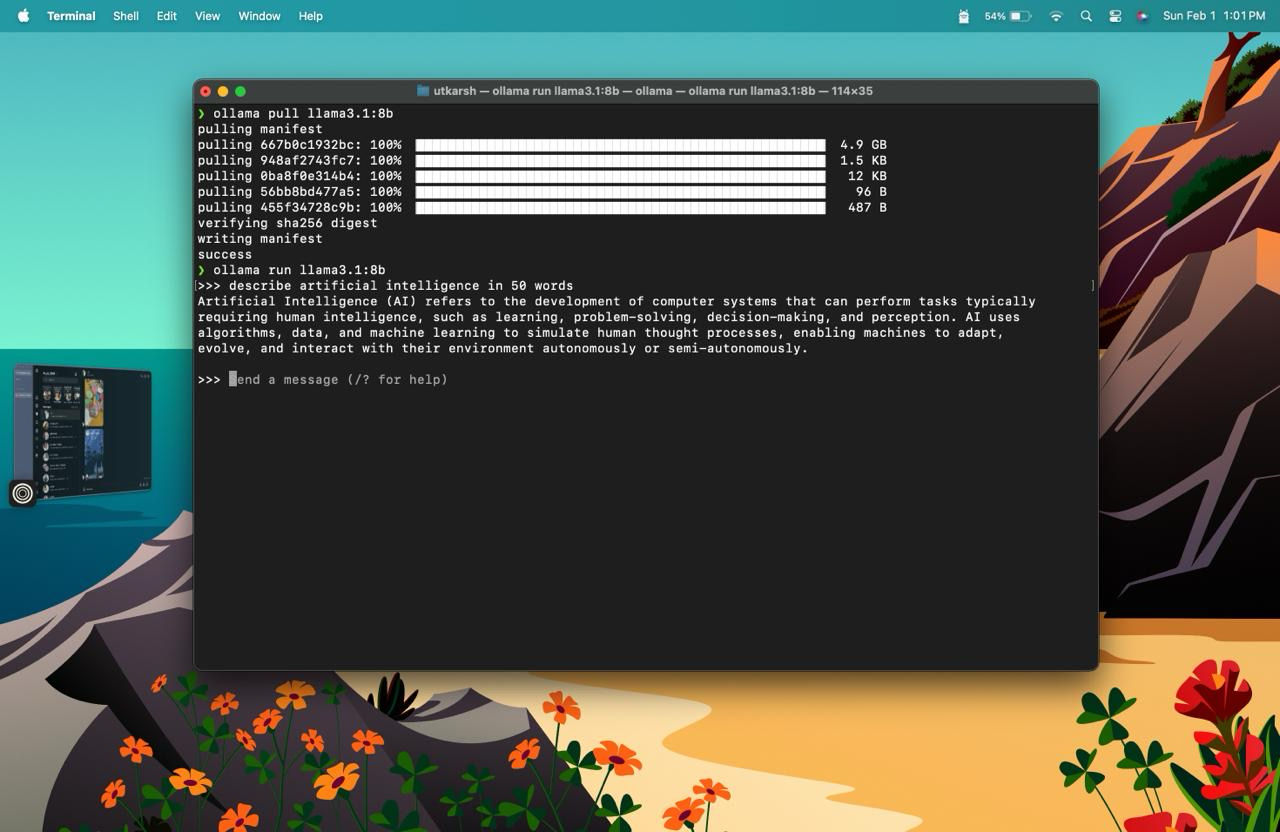
10. Ollama & Local LLMs
Ollama official site: https://ollama.com/
brew install ollamabrew install ollama
Start Ollama:
ollama serveollama serve
Download models:
ollama pull llama3.1
ollama pull mistral
ollama pull codellamaollama pull llama3.1
ollama pull mistral
ollama pull codellama
Run:
ollama run llama3.1ollama run llama3.1
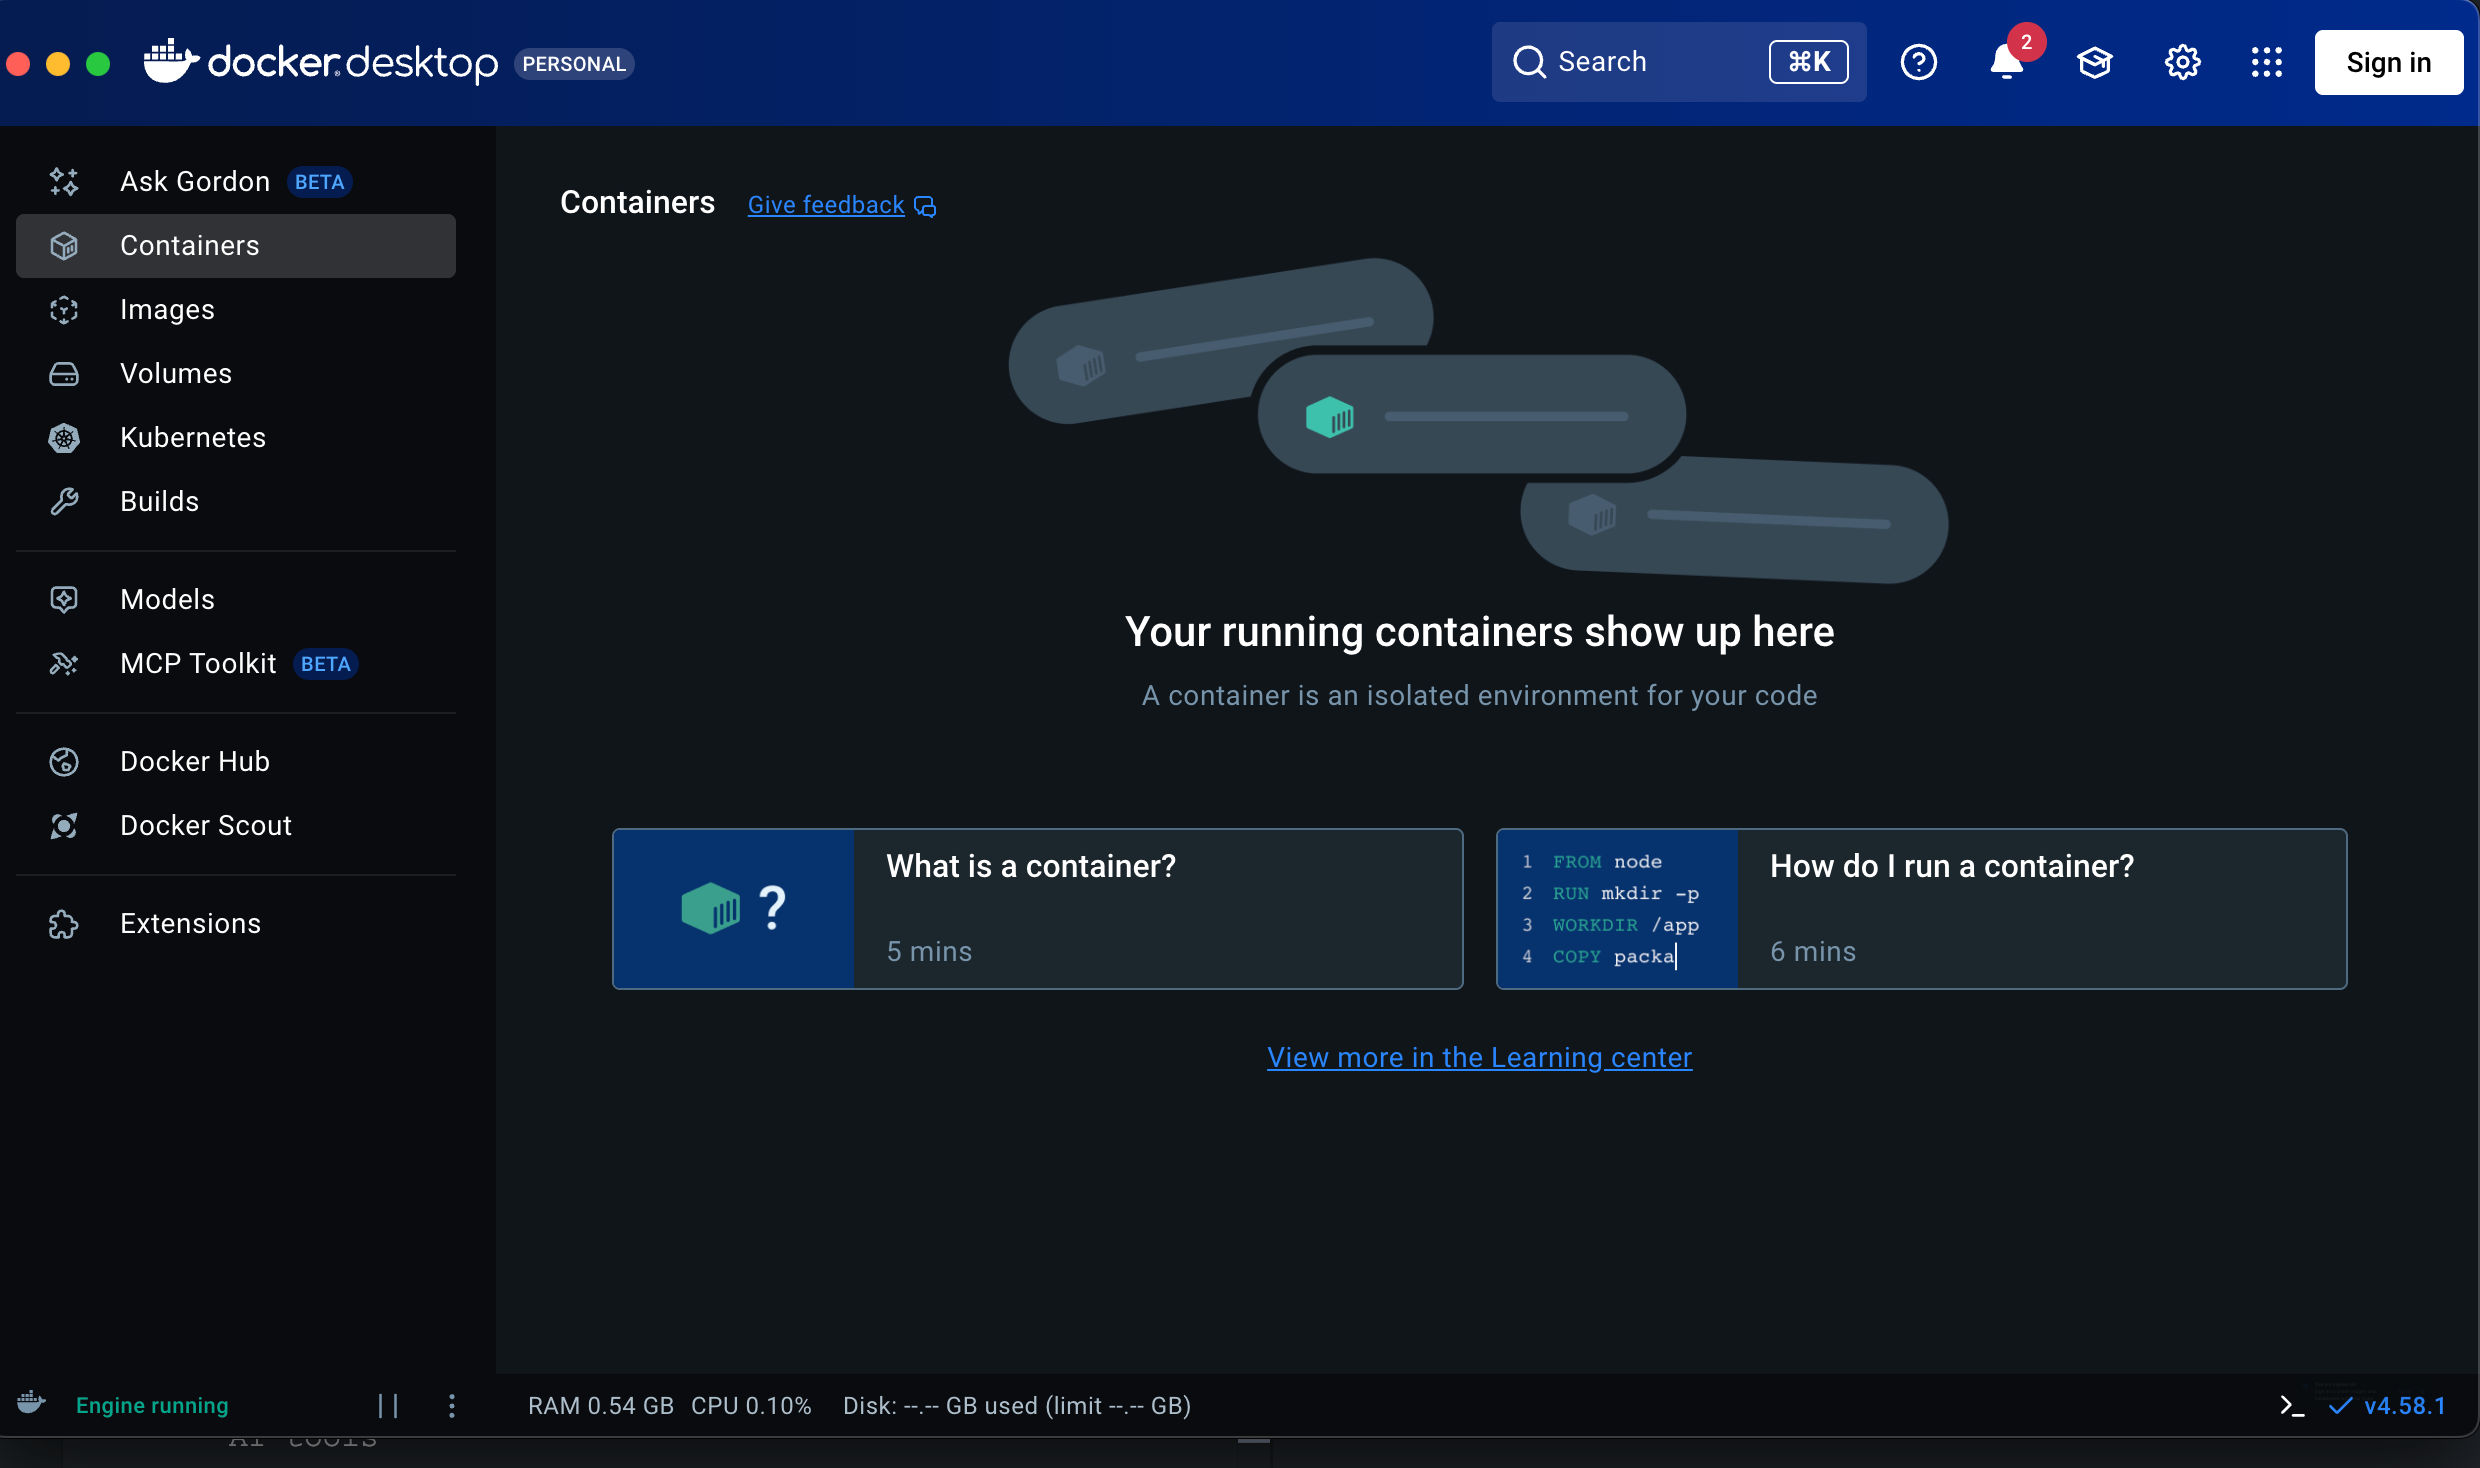
11. Docker
For local development, testing, and running dependent services, Docker is still hard to beat.
Official site: https://www.docker.com/
Install Docker Desktop
On macOS, Docker Desktop is the simplest and most stable option.
brew install --cask dockerbrew install --cask docker
After installation:
- Open Docker from Applications
- Allow required permissions
- Wait for the Docker engine to start
Verify installation:
docker --version
docker compose versiondocker --version
docker compose version
Once Docker is running, you’re ready to:
- Spin up databases (Postgres, MongoDB, Redis)
- Run isolated dev environments
- Match production-like setups locally
How I Use macOS + Windows Together
- MacBook Air → coding, writing, research, AI tools
- Windows laptop → gaming, heavy builds, large storage
- Git + cloud keep everything in sync
- No duplicated data, no wasted space
Closing Thoughts
The MacBook Air M4 is silent, fast, and extremely efficient for development. If you keep macOS clean and install tools intentionally, it becomes one of the best dev environments in 2026.
No bloat. No noise. Just tools that work.